
How to Brew the Perfect Pour Over with a Hario V60
How to Brew the Perfect Pour Over with a Hario V60
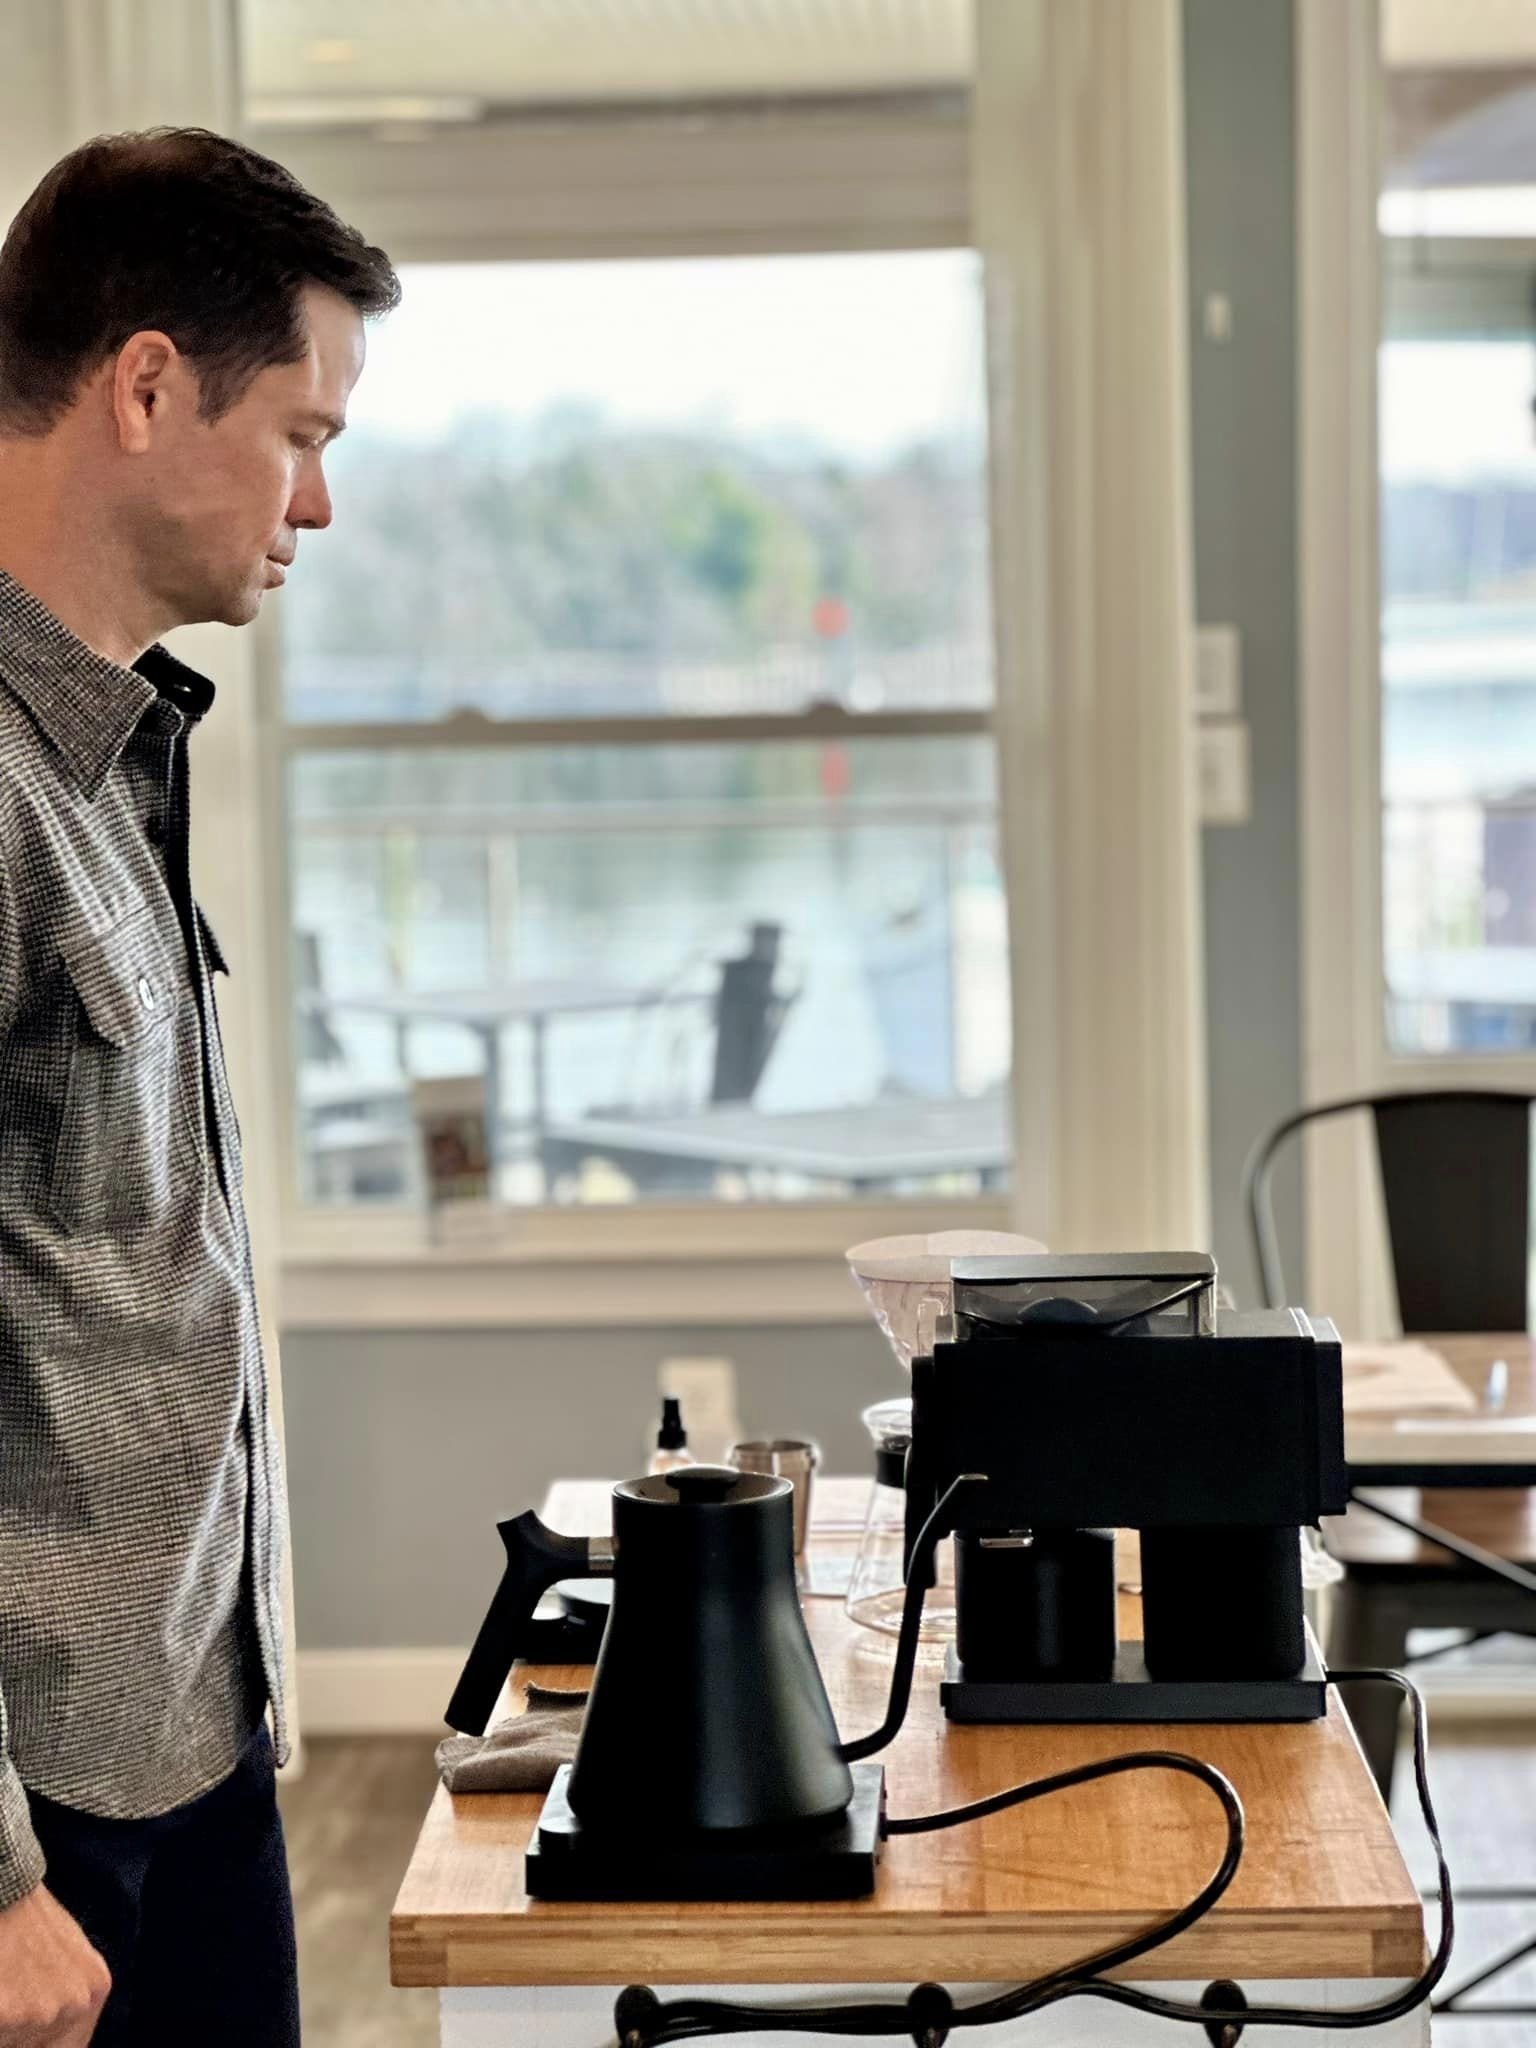
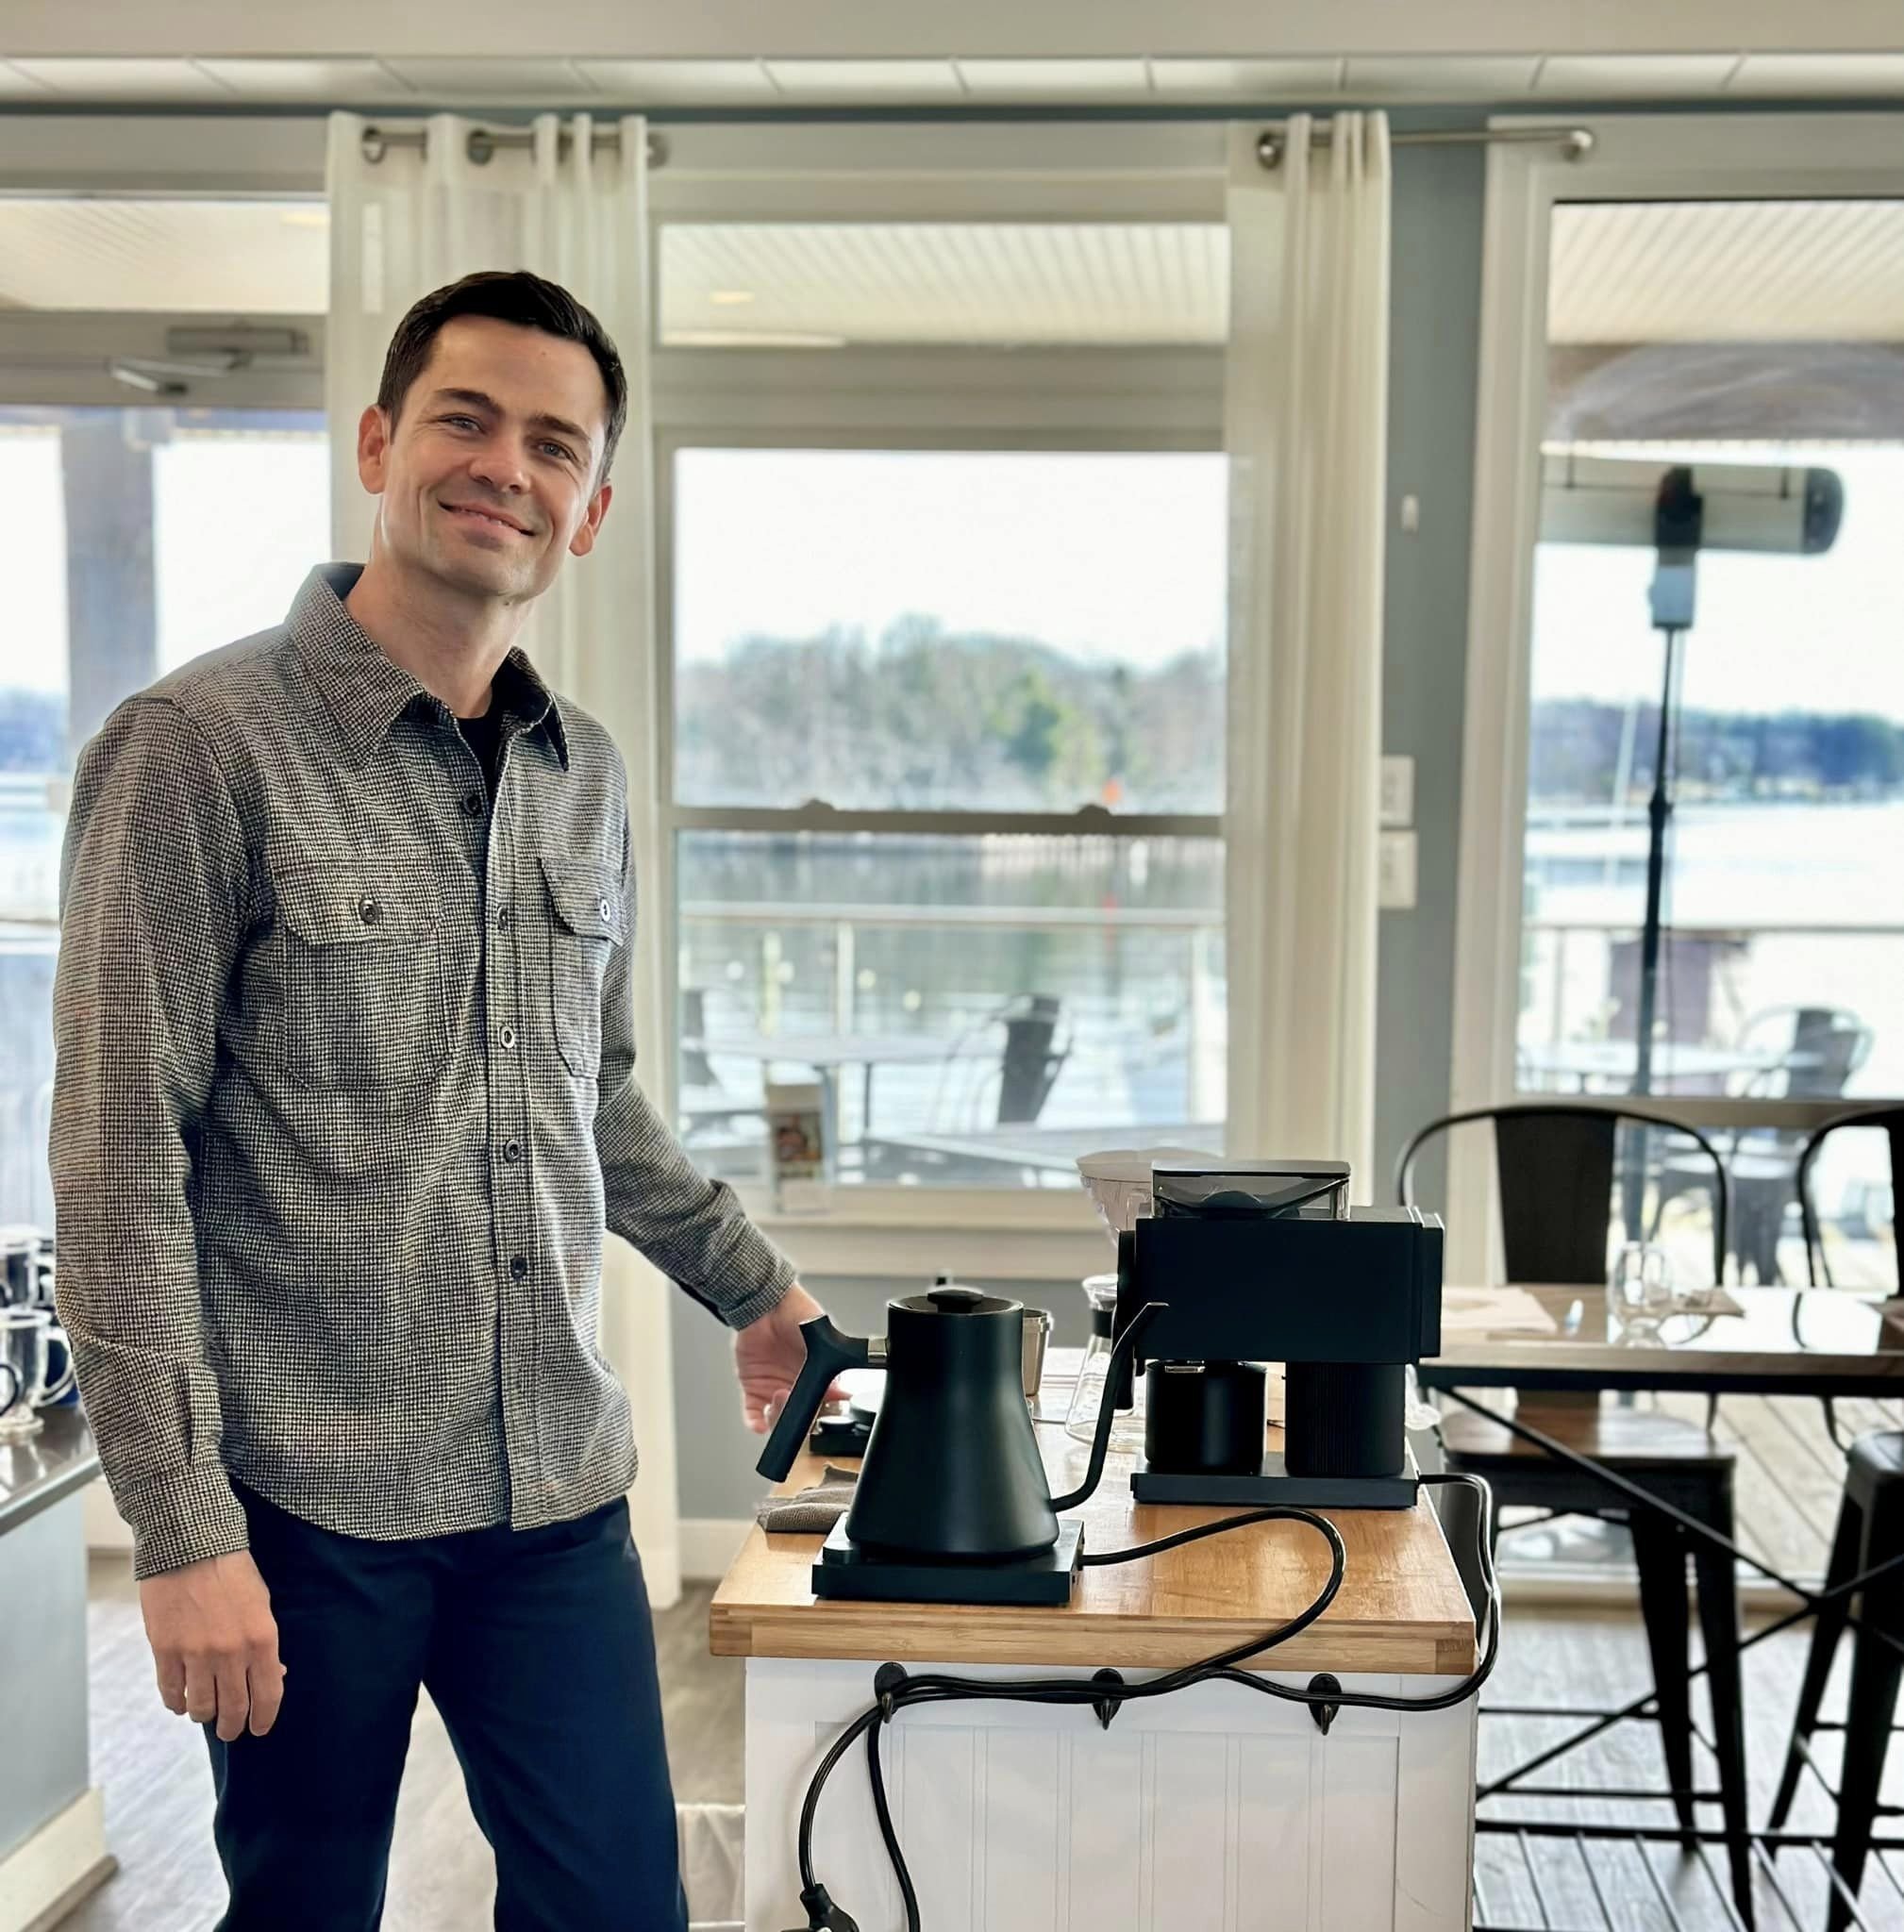
Over the weekend, we hosted a brewing class that brought an enthusiastic group of coffee aficionados together to learn the basics of the pour-over method. The session was centered on the art and science of making a great cup of coffee, from choosing the right beans to mastering the pour-over technique. Participants left with a deeper appreciation for the craft and new skills to elevate their morning routine. We wanted to share our recipe with you in case you missed the class.

Pour-over coffee is a beloved method by coffee connoisseurs. It allows you to control the temperature, water flow, and saturate your coffee grounds thoroughly, resulting in a rich, nuanced cup. In this guide, I'll take you through each step of brewing a standard pour-over with a Hario V60, ensuring your taste buds are singing with the first sip.
What You'll Need
Hario V60 brewer or any conical brewer (we like the plastic V60 for its price, durability and heat retention)
1 V60 filter (we like the Abaca papers from Cafec, but Hario makes great papers too)
Soft water: We’re pretty critical of the water we use for coffee as it’s very important! We add minerals to distilled or reverse osmosis water. Search for Third Wave Water, and keep an eye out because we will be selling these on our site soon. Filtered water from your fridge is a good alternative, but you will be pleasantly surprised by adding minerals to RO or Distilled water
-25g of whole coffee beans
-Scale
-Burr Coffee grinder- (not the blade kind because these are really inconsistent)
-Timer
-Kettle (preferably a goose neck because this gives you more control)
-Glass Server- We recommend brewing your coffee into a glass server and then transferring it to your desired drinking vessel. This helps to aerate and mix the flavors together creating for a more balanced cup.
Serves 2 (6 oz) cups
Step 1: Boil the Water
Begin by bringing water to a boil in a kettle. The ideal temperature for your pour-over is around 195–205°F, depending on the roast level and density of the specific coffee you're using. Lighter roasted coffees tend to require higher temperatures for better extraction. If you don’t have a temperature controlled kettle, bring it to a boil, then take it off and let it sit for 2-3 minutes before pouring over the coffee grounds. For darker coffee, let it sit for a minute longer.
Step 2: Prepare the V60
Place a V60 filter in the brewer. It's crucial to pre-wet the filter to rinse away any paper taste and preheat the brewer/server. A warm brewer keeps the temperature consistent and helps achieve a better extraction.
Place brewer on top of server and dampen the filter with warm water until it's thoroughly wet. This will warm up the brewer and server.
Empty server of water
Step 3: Grind Your Beans
We prefer a medium to medium fine grind, akin to the texture of kosher salt or sand. This encourages an optimal extraction. This is also dependent on the roast level and density of the coffee you are using. Let taste be your guide. If you taste astringency (dryness on the top of your mouth or back of your tongue after swallowing, you've ground too fine (unless you like astringency). If your coffee has a tea like taste, try grinding a little finer next time.
Step 4: Prepare the Brewer and Coffee
Pour the ground coffee into the brewer. Then make a slight indentation in the middle coffee bed (this helps you get better saturation during the bloom).
Step 5: Blooming
Blooming is a critical step that releases the gases from the coffee and helps for a more even extraction.
Pour just enough water to saturate the coffee, about three times the coffee's weight, or 75 grams, enough to make all the grounds wet.
After the bloom pour, wait for about 45 seconds for the grounds to bloom. You'll see the bed begin to swell and bubble.
Step 6: The Pour
This is where you will finesse the art of pour over.
Slowly pour the water over the grounds. Start in the center and move out in a circular motion. Do not pour directly on the paper as this creates bypass where the water doesn’t move through the coffee bed.
The first pour should be about 100-120 grams. Keep water level well below the top of the brewer.
Let the water level drain for 10 seconds or until the level is just above the bed of coffee.
After 10 seconds pour in 50g increments till you have reached your desired ratio. (For a light-medium coffee we like a 1:16 ratio, so for 25g coffee use 400g water including the bloom).
Make sure to pour in a manner so you are agitating the coffee bed. Make sure not to pour too heavy where you create a huge channel. If you pour too light you won’t have any agitation and this will result in a weaker tasting or sour coffee. **Pour from a consistent height as well!**
Step 7: Timing the Brew
Time your pour-over. The total elapsed brew time from the start of the bloom should be 3-4 minutes. Don’t worry if you are short of this time or go over. Taste is your guide! Time is not the main factor of how something will taste.
Step 8: Finish the Pour
Once the 400 grams have been poured, wait for the coffee to fully drain from the filter.
Step 9: Serve and Enjoy
Swirl the coffee in your server, then pour into your 2 cups or one 12 oz cup if you need the extra caffeine. Savor the flavors as the meticulous brewing process unfolds into a delightful cup of coffee.
Fine-Tuning Your Brew
Adjusting Grind Size
If the coffee tastes sour, weak or more like tea, it may be under extracted. Adjust your grind a little finer and make no other changes for the next brew.
Conversely, if the coffee tastes too bitter or strong…coarsen the grind and make no other changes for the next brew. Remember, let taste be your guide!
Water Control
It's vital to control the water temperature and to pour in such a way as to maintain a consistent flow. This steadiness ensures an even extraction and balanced flavor.
Enjoy the Journey
Brewing with a Hario V60 is not just about the end result; it's an enjoyable process that connects you with the art of crafting coffee. Like all brewing techniques, practice is key, and each refinement you make will bring you closer to your perfect cup.
By following these detailed instructions and understanding the variables at play, you’re on your way to becoming a pour-over maestro. Embrace the journey, experiment with different coffees, and take note of how each new method yields varied flavors and textures. Remember, the perfect cup is your perfect cup, so adjust to your taste, and enjoy the process as much as the product.
Check out the coffees we brewed at the event, and grab them for your next pour over! Happy brewing!
